Yoho National Park
There are some days on a road trip when you realize you’ve packed far too much into the itinerary. And somehow, those often become your favorite days.
Our day exploring Yoho National Park started in Banff, took us along some of the most spectacular stretches of the Icefields Parkway, crossed the Alberta–British Columbia border, and eventually brought us face-to-face with enormous waterfalls, a geological wonder, and what would become our favorite lake in the Canadian Rockies.
By the time we returned to Banff that evening, we’d driven through two provinces, explored multiple lakes and waterfalls, hiked several trails, taken what felt like hundreds of photographs, and somehow still didn’t want the day to end.
If you’re visiting Banff and have a full day available, Yoho National Park makes an incredible day trip. And with a little planning, you can combine it with several iconic stops along the way.
From Banff to Yoho National Park
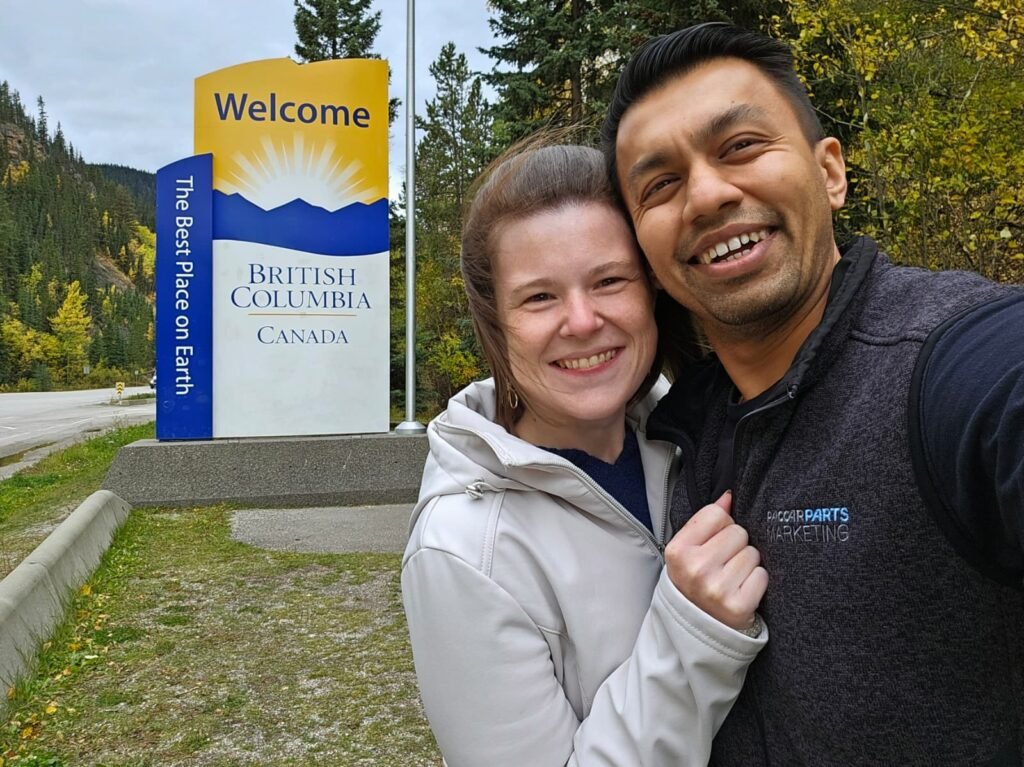
We started our morning in Banff, heading west toward Lake Louise before continuing into Yoho National Park in British Columbia.
Yoho is one of Canada’s mountain parks and sits directly across the provincial border from Banff. The Trans-Canada Highway makes the park surprisingly accessible, especially for travelers already exploring the Banff and Lake Louise area. The name Yoho comes from a Cree expression of wonder and awe—and after spending a day here, we understood exactly why. The park is filled with towering mountain peaks, glaciers, turquoise lakes, rushing rivers, waterfalls, and some pretty spectacular examples of the power of nature.
Our first stops were something a little different. Sometimes you get caught off-guard by a random roadside creek with such blue water…the perfect photo op.
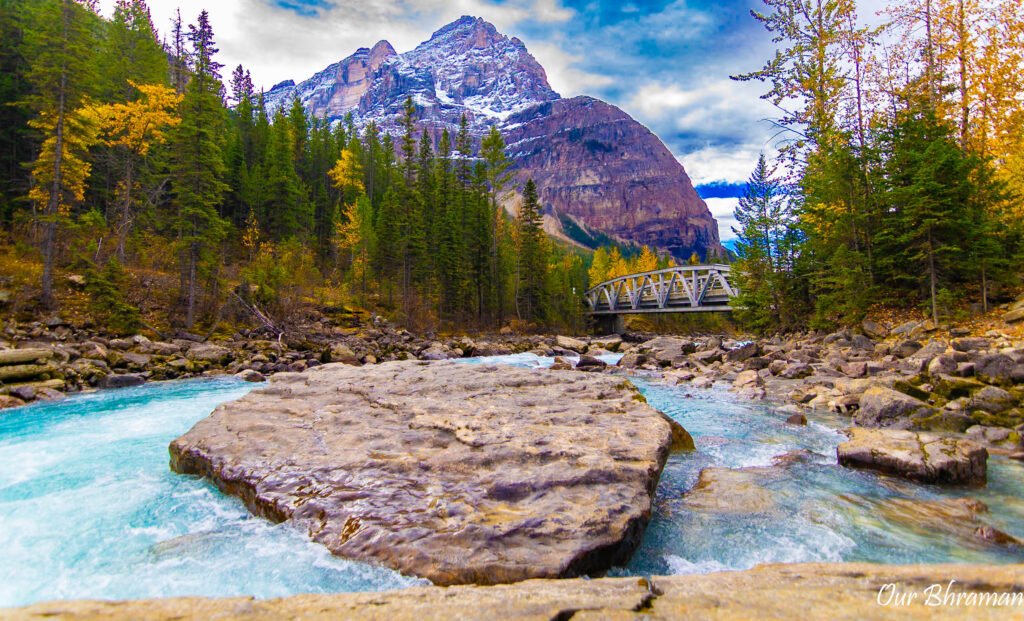
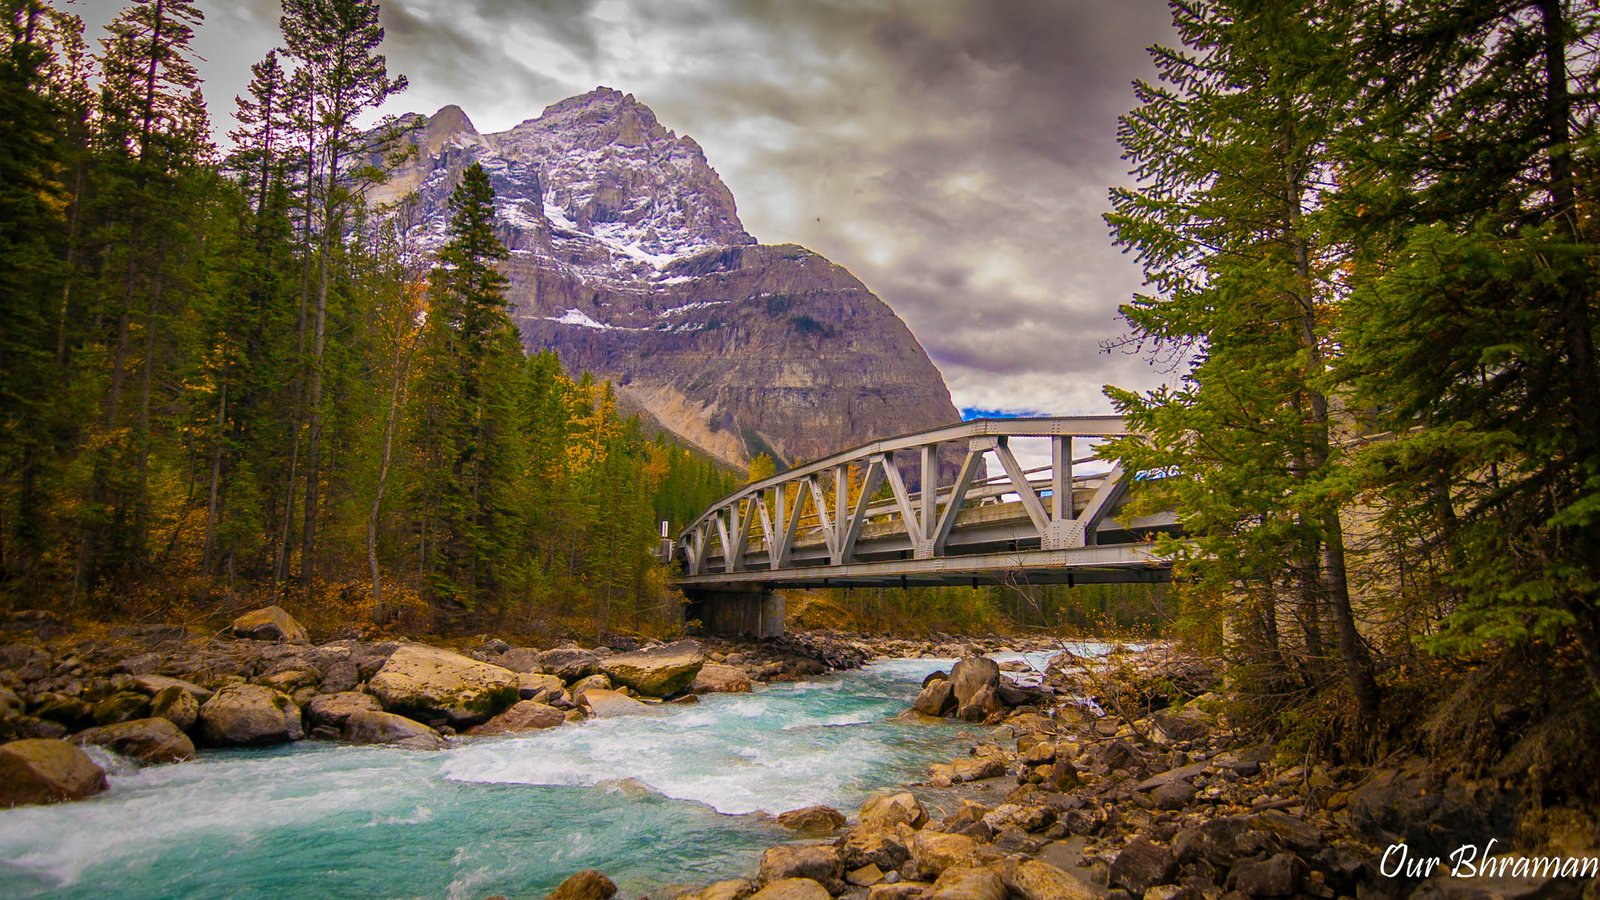
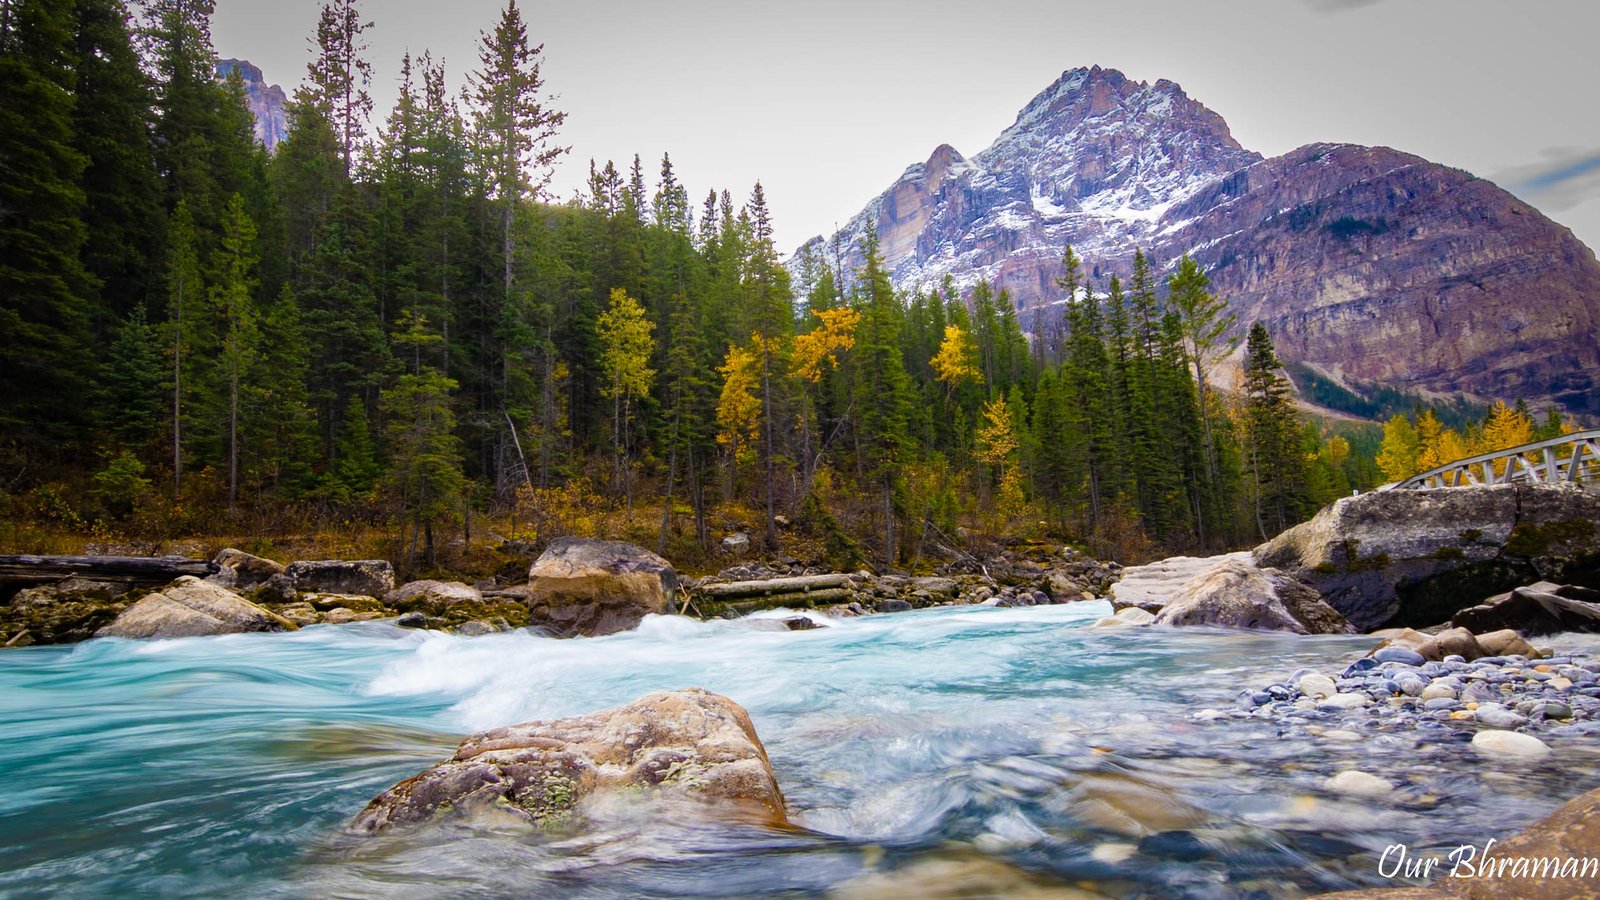
Mountains and streams never seem to amaze us. After we were done with our little distraction, it was on to one of the main stopping points in Yoho National Park: the Spiral Tunnels.
Lower & Upper Spiral Tunnels Viewpoints
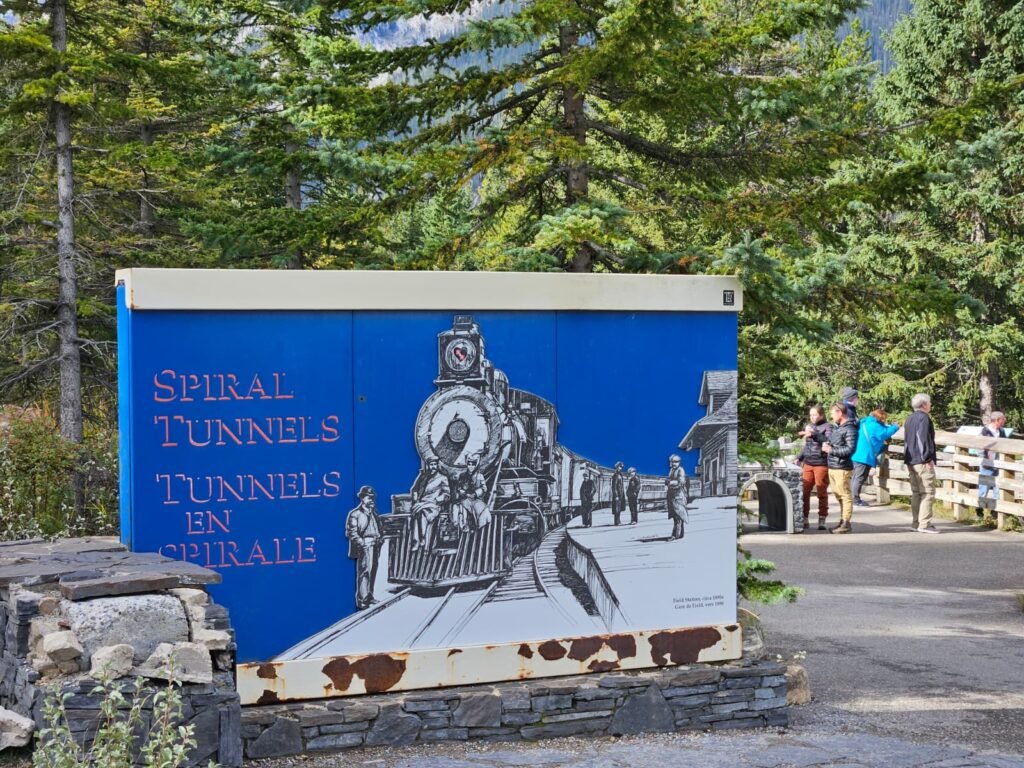
As we made our way into Yoho National Park, we stopped at the Lower and Upper Spiral Tunnels viewpoints. At first glance, these might not seem like the kind of attraction you’d expect to find on a Canadian Rockies itinerary. But they’re fascinating.
Hidden within the mountains below is an incredible feat of railway engineering: the Spiral Tunnels of the Canadian Pacific Railway. The tunnels were constructed between 1907 and 1909 to solve a major engineering problem. The original railway route over the Rockies had an extremely steep grade of approximately 4.5%, creating a significant challenge for trains traveling through the mountains. The Spiral Tunnels dramatically reduced that gradient to approximately 2.2%. Instead of simply climbing straight up the mountain, the railway loops through the mountains in enormous spirals, allowing trains to gain elevation more gradually. It’s an ingenious solution—and one that’s still in use today.
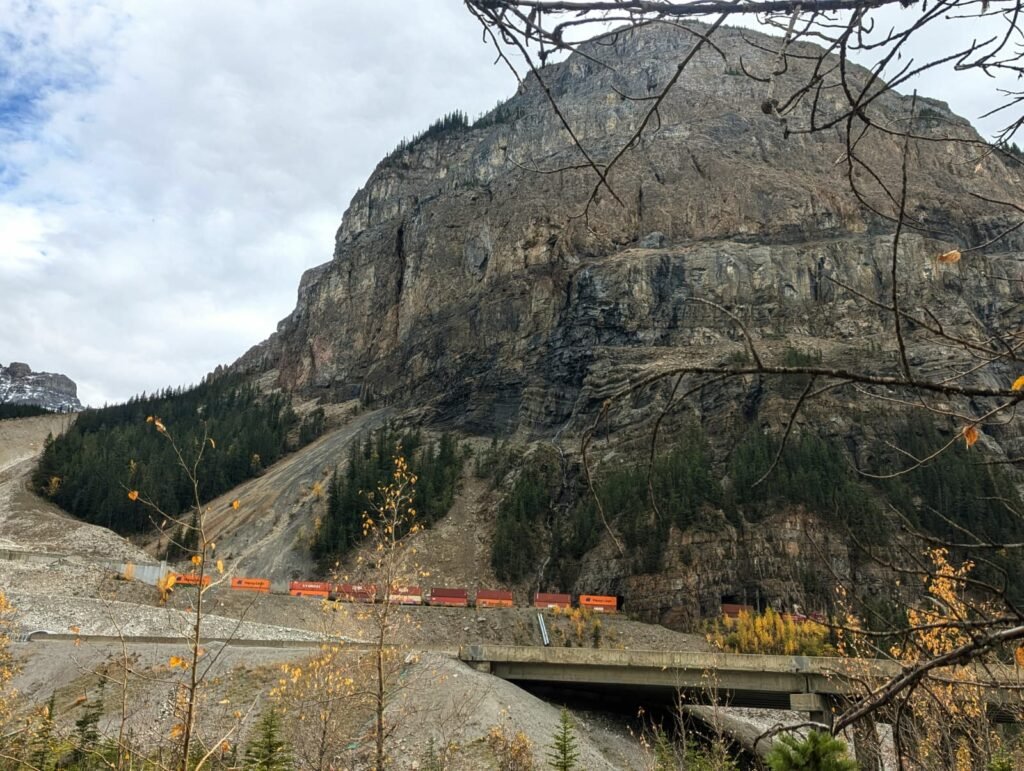
We had just finished learning about the tunnels when we realized something exciting. We had passed a train on the way here. That meant there was a good chance we’d get to see it emerge from one of the tunnels. So we waited. And waited. We kept our cameras ready. Eventually, we saw it. The trees blocked much of the view, but we could just make out the front of the train twisting through the trees while the back was still entering the tunnel. It was incredible. Honestly, the photograph doesn’t really do it justice. We saw much more with our eyes than our cameras were able to capture. And that’s something we’ve learned repeatedly while traveling through the Canadian Rockies: sometimes the best views aren’t necessarily the ones that make the best photographs. Sometimes you just have to stand there and watch.
We spent about 15–20 minutes between the lower and upper viewpoints before continuing toward the main destination we’d been looking forward to all day…Takakkaw Falls.
Photography Tips
Bring a telephoto lens.
The train is relatively distant, and a longer focal length gives you a much better chance of capturing it as it winds through the mountains.
And don’t pack up too quickly if you know a train is approaching. Wait for the composition.
Takakkaw Falls
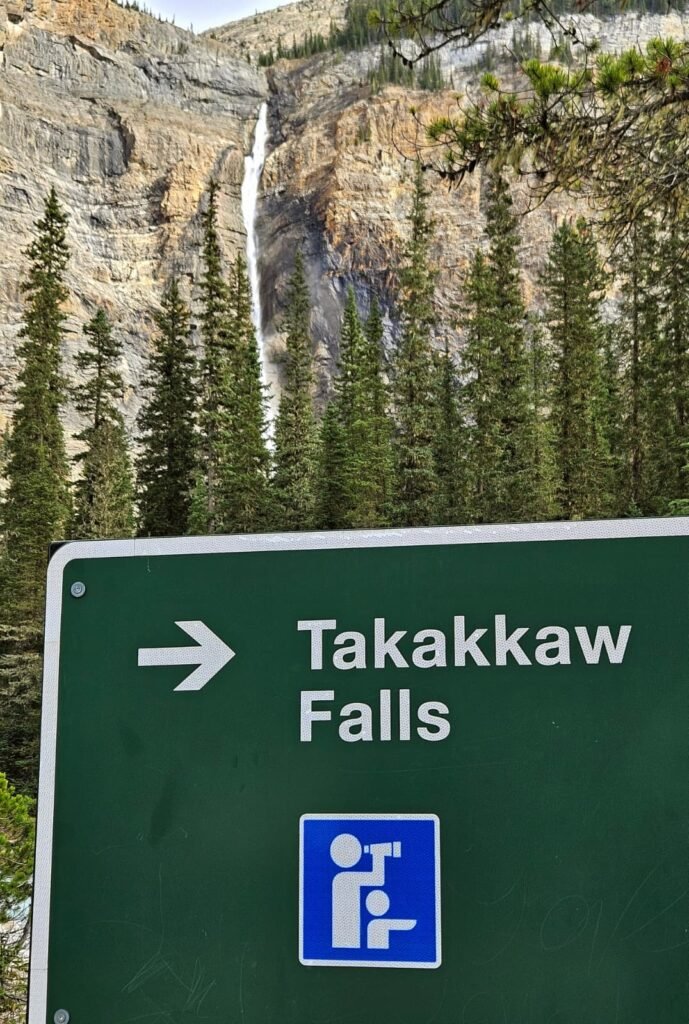
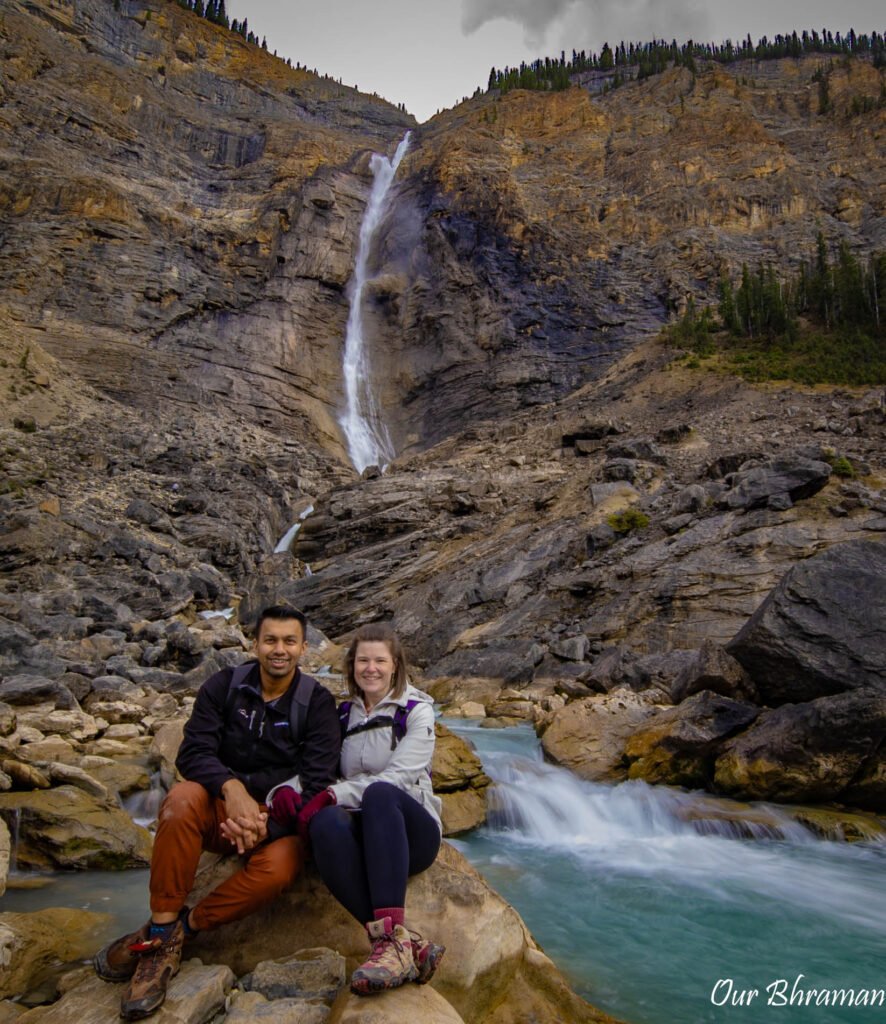
If there is one place in Yoho National Park that immediately makes you feel insignificant, it’s Takakkaw Falls. And its name couldn’t be more fitting. In the Cree language, Takakkaw means “wonderful.”
Standing in front of this waterfall, it is easy to understand why. At approximately 384 meters (1,260 feet) tall, Takakkaw Falls is one of Canada’s highest waterfalls and is often described as the second-highest waterfall in Canada after Della Falls on Vancouver Island. The waterfall has two distinct drops, with the lower drop plunging approximately 254 meters before crashing onto the rocks below. And you don’t even have to hike to see it. You can actually catch glimpses of Takakkaw Falls through the trees from the parking area. But naturally, we wanted to get closer.
1.3
Length (kilometers)
Out & back
Route Type
36
Elevation Gain (meters)
easy
Difficulty
The walk to the base of Takakkaw Falls is relatively easy. The main trail begins as a wide, paved path, making it accessible for most visitors. Along the route you’ll find picnic tables, outhouses, informational signs, and several places where you can stop to admire the falls. The walk from the parking lot to the base of the waterfall is approximately 1.3 km one way, depending on where you measure the route. It’s an easy trail, but the scenery makes it feel like much more of an adventure.
The walk to the base of Takakkaw Falls is relatively easy. The main trail begins as a wide, paved path, making it accessible for most visitors. Along the route you’ll find picnic tables, outhouses, informational signs, and several places where you can stop to admire the falls. The walk from the parking lot to the base of the waterfall is approximately 1.3 km one way, depending on where you measure the route. It’s an easy trail, but the scenery makes it feel like much more of an adventure.
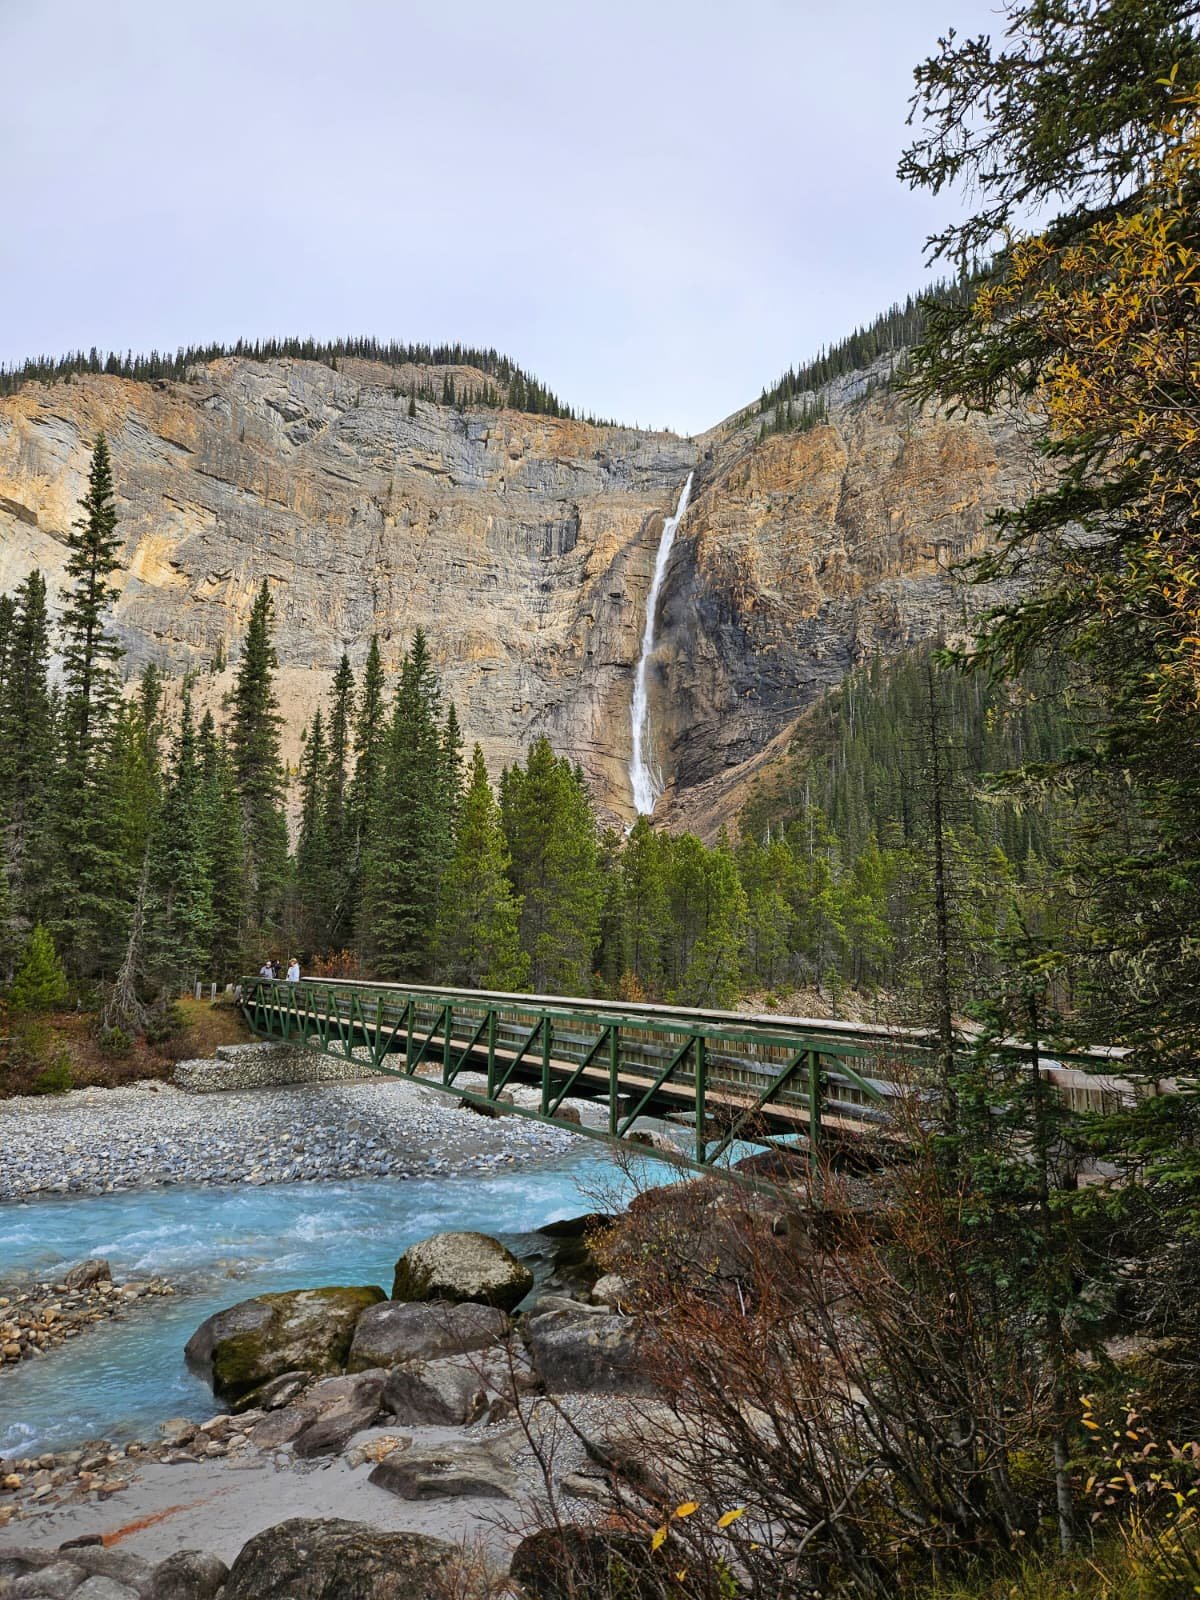
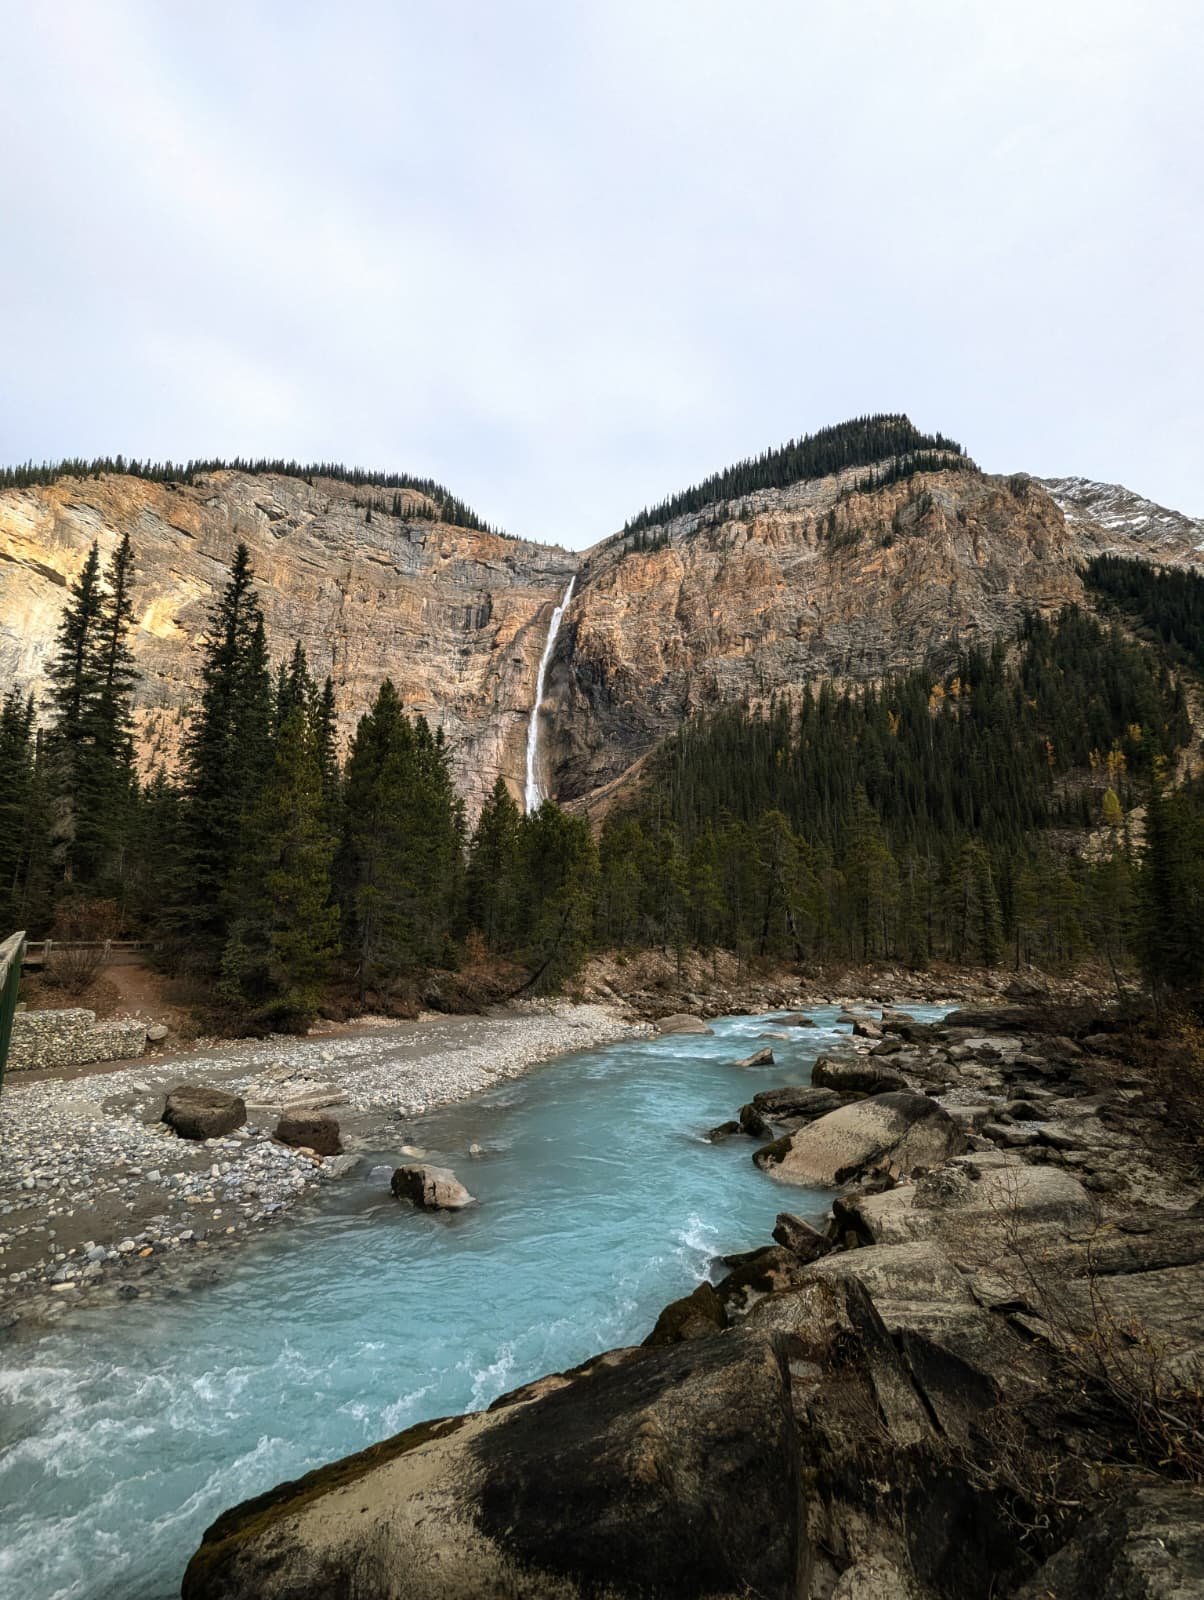
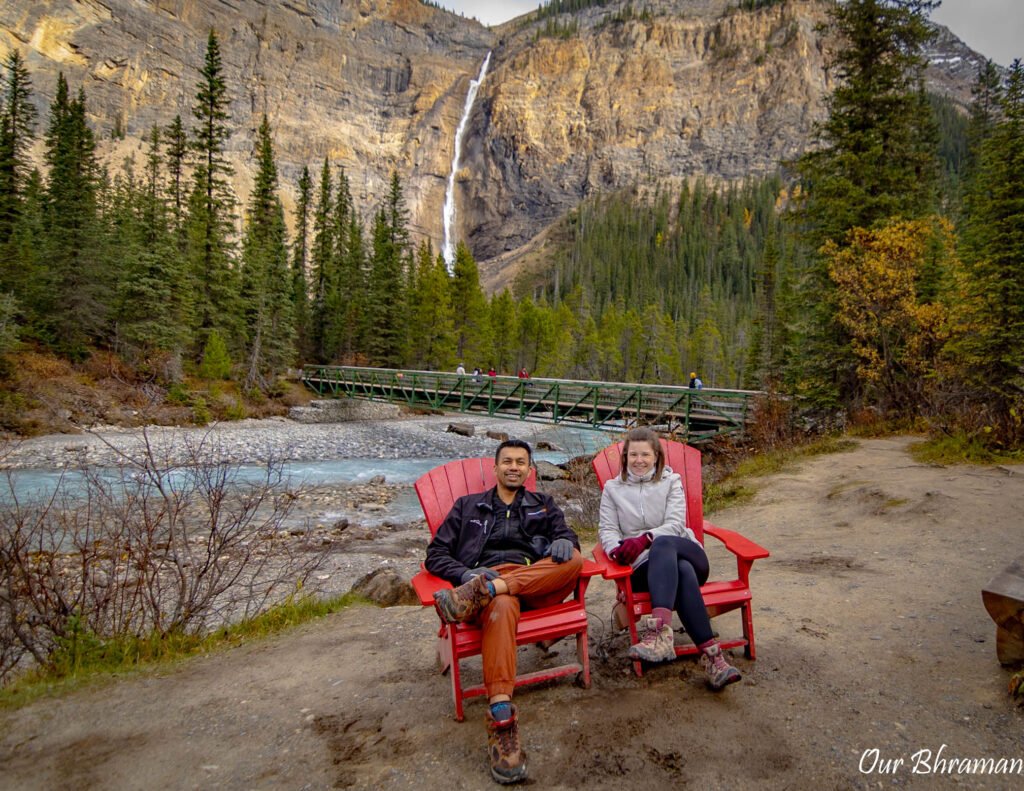
One of the first memorable features along the trail is the bridge crossing the icy-looking river. The water rushing beneath the bridge looked absolutely freezing. And then we spotted one of Parks Canada’s iconic red chairs. Of course, we had to stop. The red chairs have become a fun feature at scenic locations throughout Canada’s national parks, giving visitors a designated place to sit, relax, and take in the surroundings. We took a couple of photographs before continuing. It was one of those little moments that didn’t take much time but became part of the memory of the hike.
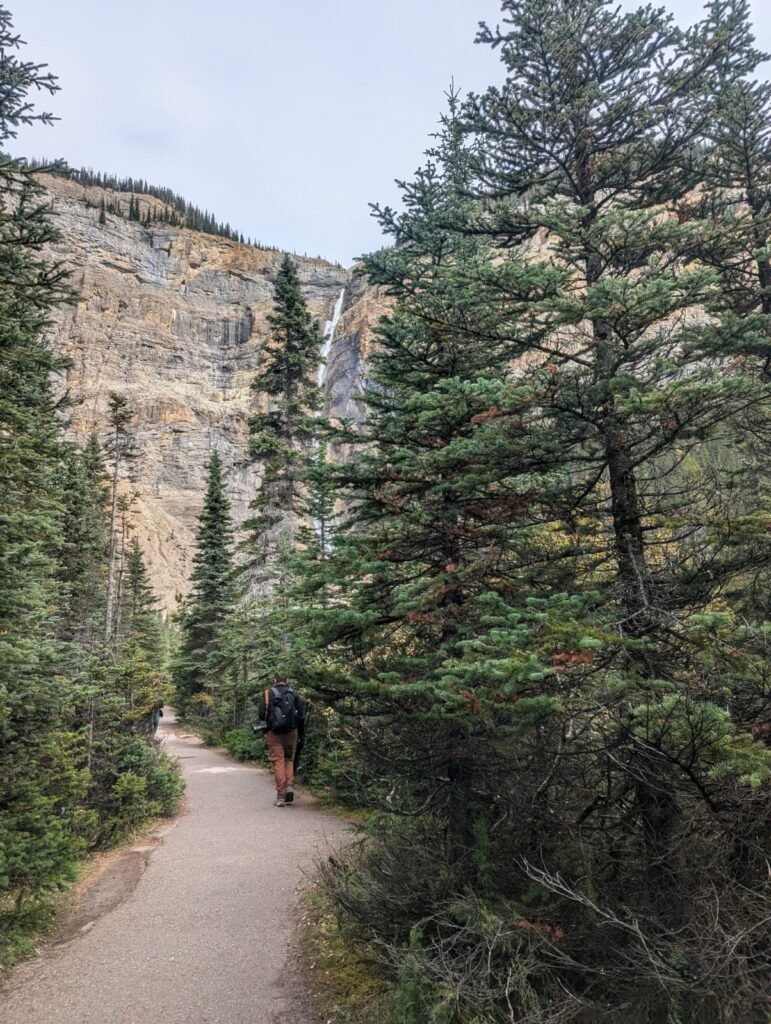
As we continued toward the waterfall, the sound of rushing water became louder. And then came the mist. The closer we got, the more powerful the waterfall felt. Water thundered down the rock face, hitting the rocks below with enough force to send a refreshing spray across the surrounding area. Eventually, we reached the point where our cameras—and our jackets—were telling us we’d gotten close enough. The spray gets intense! You can continue toward the falls as far as you’re comfortable, but be prepared to get wet.
Standing there beneath a waterfall nearly 400 meters tall was an incredible experience. You can hear the roar. You can feel the mist. And you can see the enormous volume of water cascading down the mountain. It’s one thing to know the statistics. It’s another thing entirely to stand beneath it.
One of the most interesting things about Takakkaw Falls is that its flow is heavily influenced by glacial meltwater. The waterfall is fed by meltwater from the Daly Glacier, which is part of the enormous Waputik Icefield. That means the waterfall’s volume can change significantly depending on the season.
Photography Tips
A wide-angle lens is your friend here.
You want to capture both the enormous waterfall and the surrounding mountains.
For a different perspective, experiment with foreground elements such as trees, rocks, the river, or people.
Travel Tip
Best Time to See the Waterfall
Mid-June through summer is generally an excellent time to see Takakkaw Falls at its most powerful, as warmer temperatures increase glacial meltwater.
We visited during the first week of October and were still fortunate to see an impressive amount of water flowing over the falls. Our timing was especially lucky.
The road to Takakkaw Falls typically closes for the winter in mid-October, and just a couple of days after our visit, the road was closed for the season. Talk about perfect timing.
Natural Bridge: Nature's Own Architecture
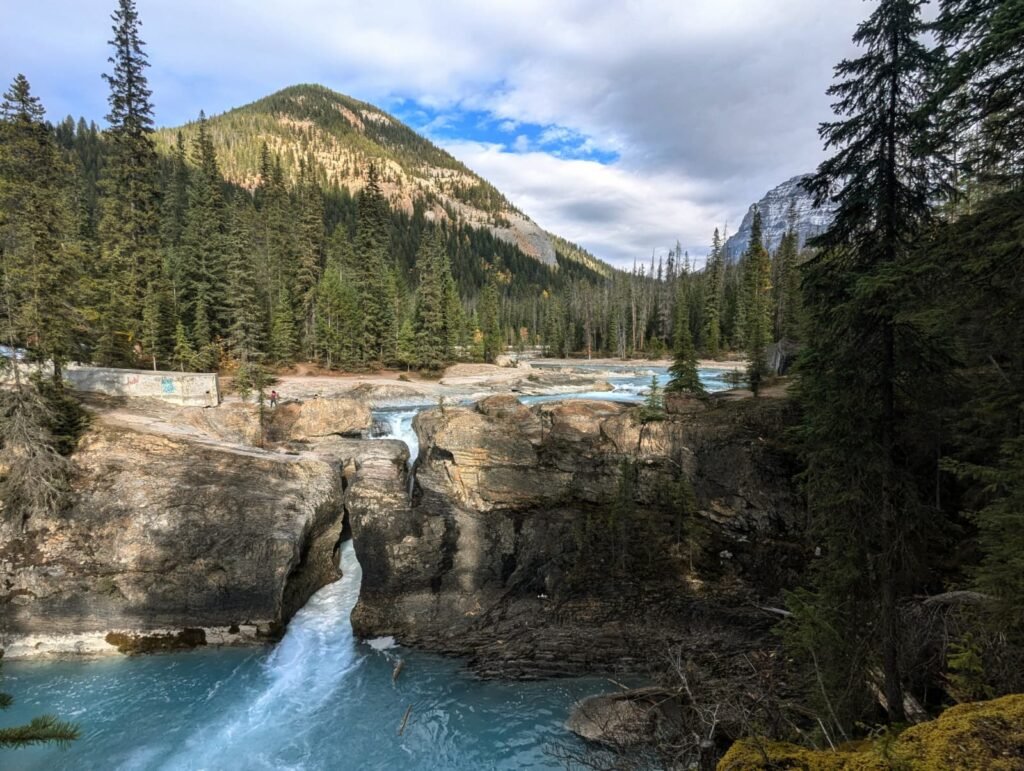
After Takakkaw Falls, we continued toward our next major destination: Emerald Lake. But we made an important detour along the way.
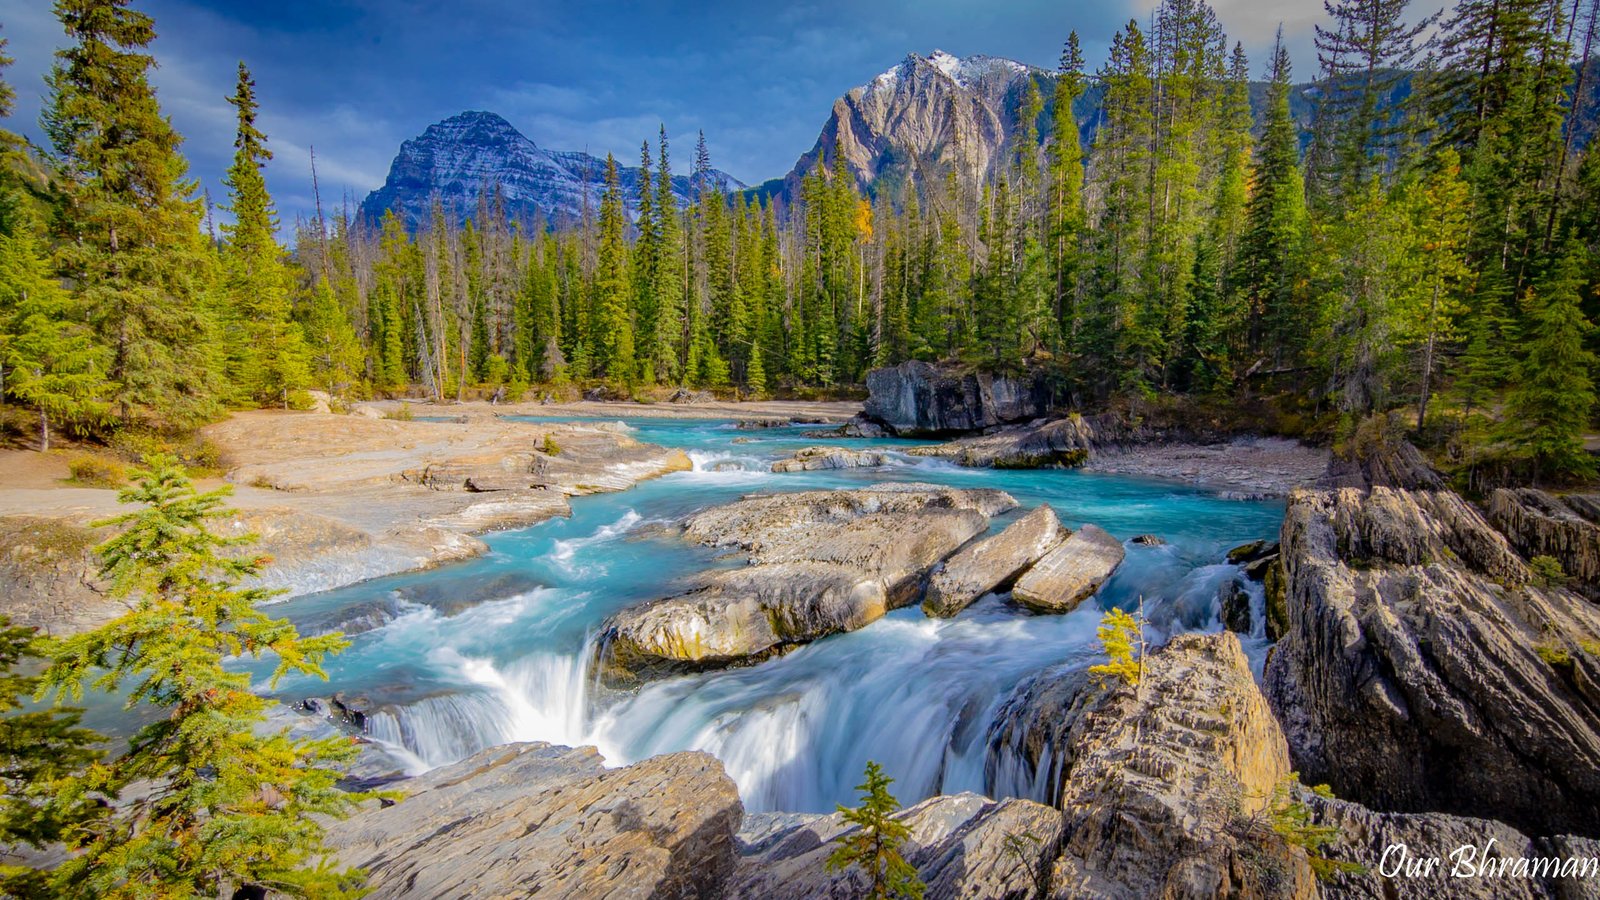
Natural Bridge.
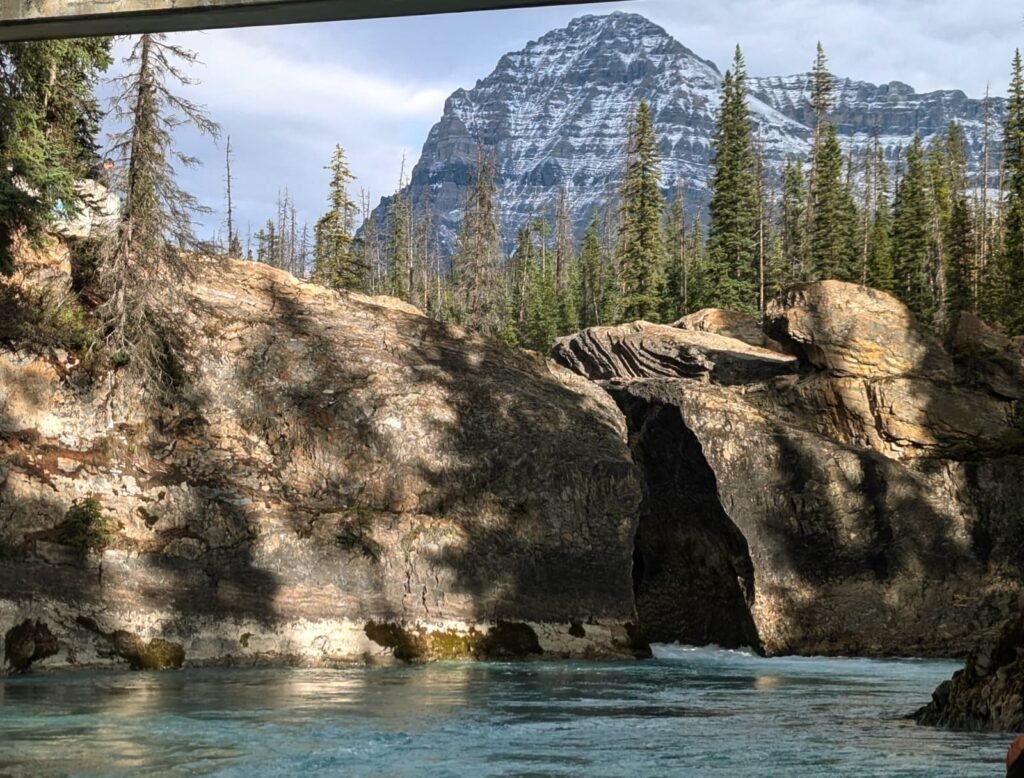
The turnoff is easy to miss, so keep an eye out as you’re driving along Emerald Lake Road. It’s a quick stop, but absolutely worth the few minutes. Natural Bridge is a fascinating geological formation created by the relentless power of the Kicking Horse River. What was once a waterfall gradually transformed as the river eroded the softer limestone beneath it. Over thousands of years, the water carved a passage through the rock. Eventually, the waterfall evolved into the natural rock bridge we see today.
Photography Tips
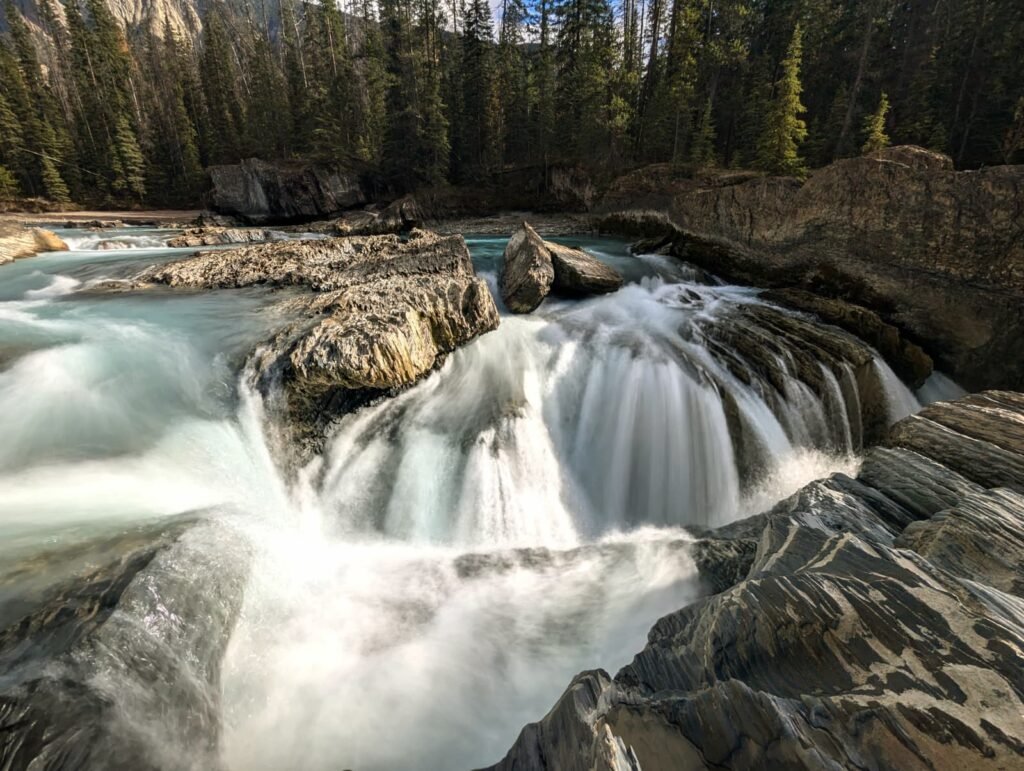
Try slowing down your shutter speed if conditions allow.
This can help emphasize the movement of the Kicking Horse River.
It’s a pretty remarkable reminder that nature doesn’t need to move quickly to completely reshape a landscape. Given enough time, water can carve through mountains.
From the parking area, it’s only a short walk to the viewing platforms.
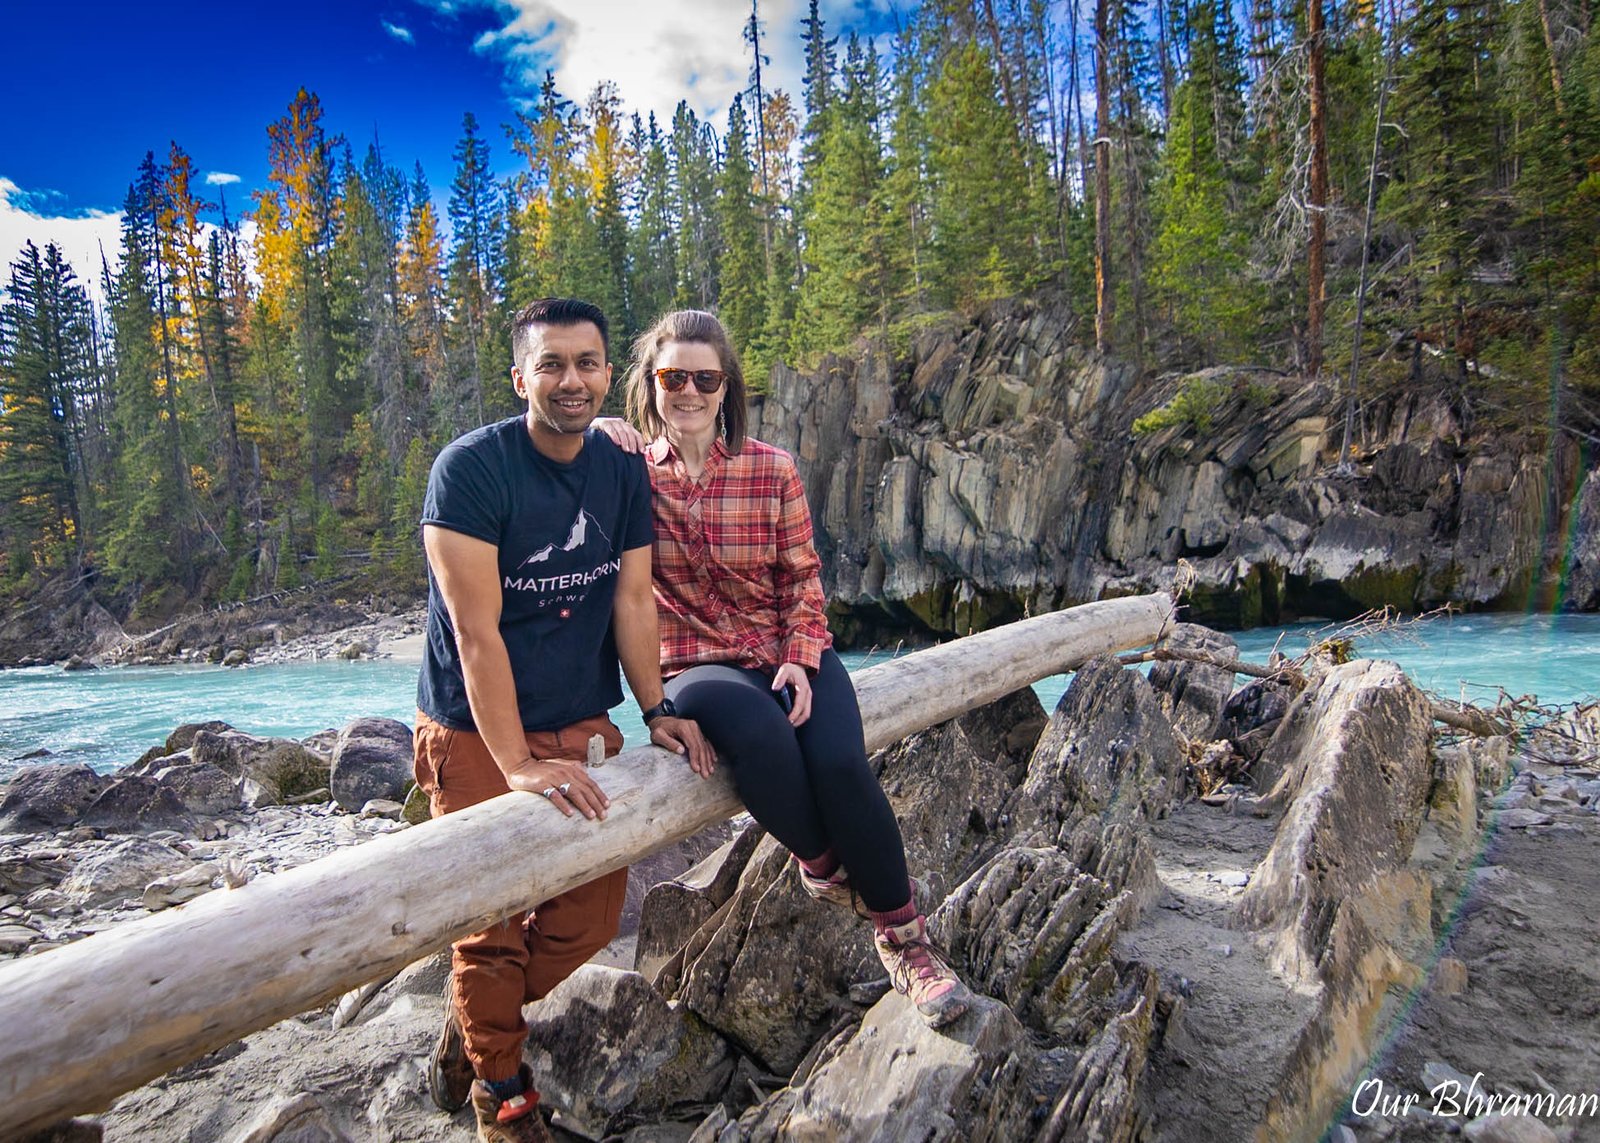
The Kicking Horse River rushes through the limestone formation below, creating a dramatic contrast between the rugged rock and powerful turquoise water. For photographers, there are plenty of compositions here. We spent about 30 minutes exploring the area, photographing the river and natural bridge from different angles. There are also opportunities to carefully explore along the rocks near the river, but remember that the water is powerful and conditions can change. The safest—and easiest—way to experience Natural Bridge is from the designated viewing areas. After getting our fill of photographs, we got back in the car. Because we still had one major stop left. And it was the one we had been looking forward to most.
Emerald Lake
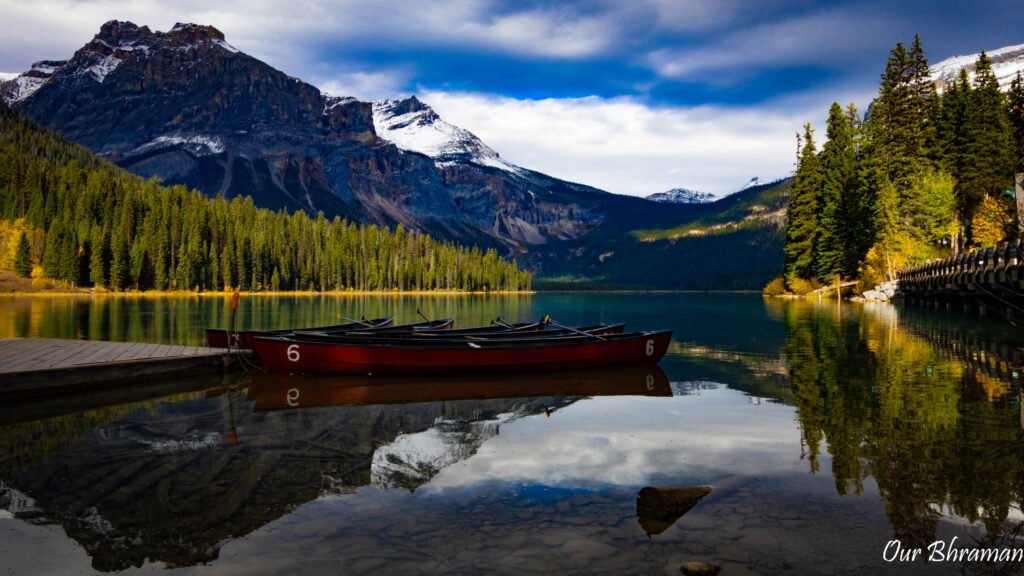
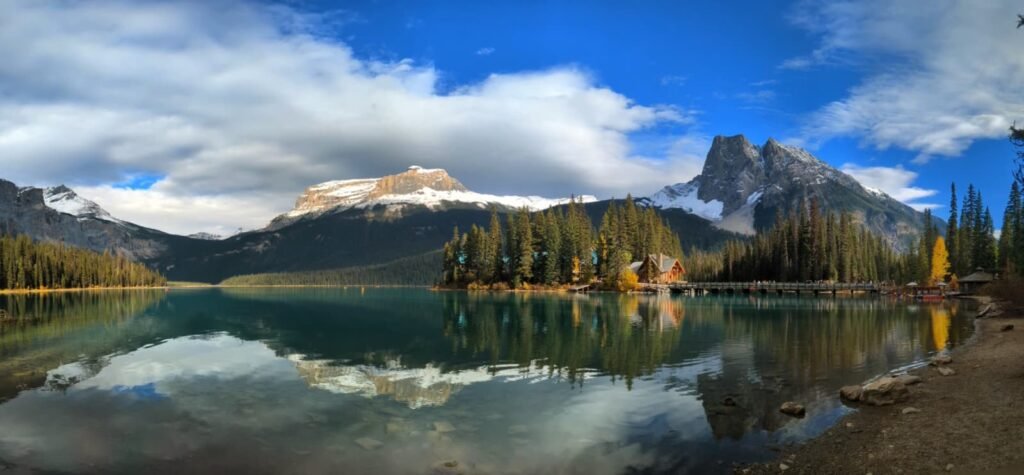
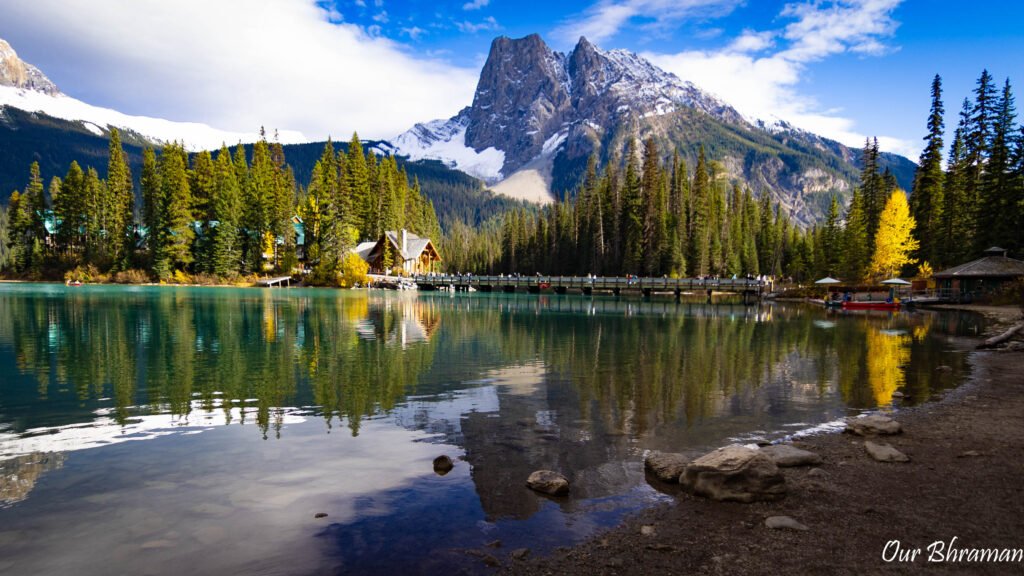
If you’ve ever wondered how a lake gets its name, Emerald Lake doesn’t require much imagination. The first time you see it, the color almost doesn’t seem real. Brilliant greenish-blue water stretches beneath the towering President Range, surrounded by dense forest and dramatic mountain peaks. It is, without a doubt, our favorite lake in the Canadian Rockies.
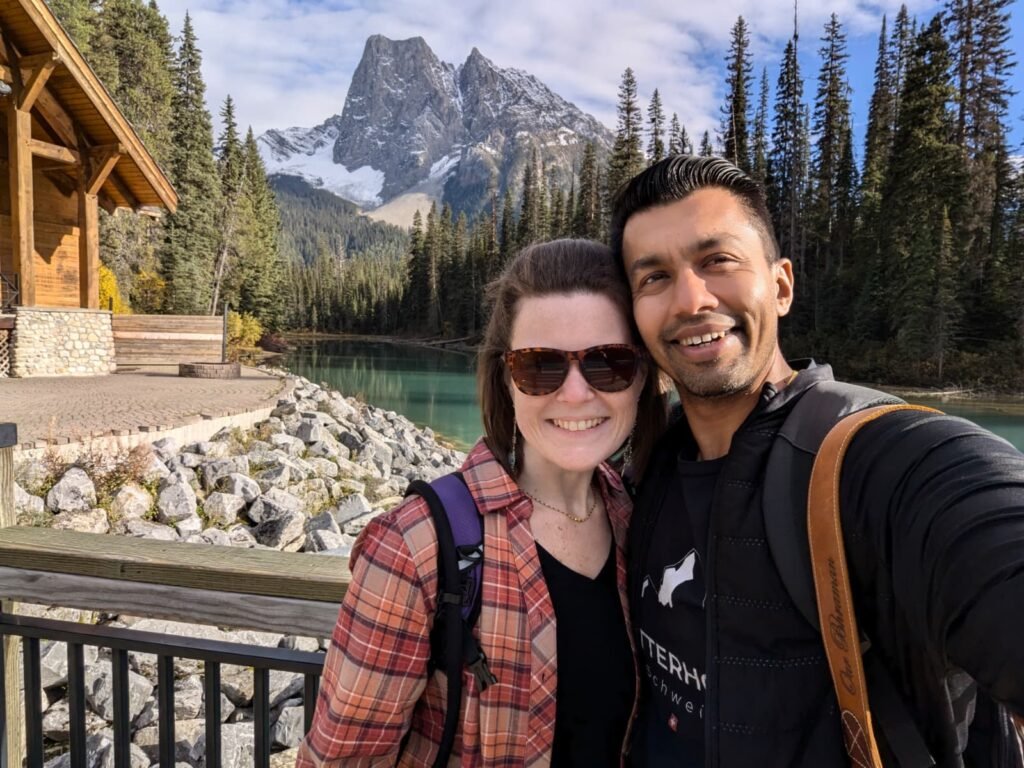
Emerald Lake is the largest lake in Yoho National Park, and its spectacular setting makes it one of the most recognizable destinations in British Columbia. The mountains surround the lake like a natural amphitheater, creating a scene that feels almost perfectly composed. And then there’s the water.
The incredible color isn’t a trick of photography. Emerald Lake gets its distinctive color from glacial rock flour. As glaciers move across the surrounding mountains, they grind the underlying rock into incredibly fine particles. These particles are carried into the lake by glacial meltwater. When sunlight hits the suspended rock flour, it scatters and refracts the light, creating the lake’s famous turquoise-to-emerald appearance. The color can be particularly vivid on sunny summer days, especially during July and August. We visited in October, and while the color wasn’t necessarily at its summer peak, the combination of the lake, mountains, and fall foliage was spectacular.
Travel Tip
Parking can be difficult. If visiting during peak season, arriving early is your best bet.
During the summer, the main public parking lot can fill quickly, particularly around midday.
Emerald Lake isn’t quite as crowded as Lake Louise, but don’t assume that means parking will be easy.
There are several ways to enjoy Emerald Lake. You can rent a canoe and explore the lake from the water, or simply walk along its shoreline. The complete Emerald Lake Loop is approximately 5.2 km (3.2 miles).
We didn’t have enough daylight to complete the entire loop, so we decided to hike a portion of the trail instead. And honestly, it was one of the best decisions we could have made.
The crowds near the parking area and bridge began to disappear as we walked farther along the shoreline. The lake became quieter. The views opened up. And we could finally appreciate the peaceful side of Emerald Lake. We spent more than an hour hiking, photographing, and simply relaxing beside the water. For us, this was the perfect way to end our time in Yoho.
Photography Tips
This is the place to spend some time experimenting.
Photograph the lake from different points along the shoreline. Use the mountains as a backdrop. Look for reflections.
And don’t forget to turn around—the views behind you can be just as impressive.
Pro tip: Early morning and late afternoon light generally produce much more interesting landscape photographs than harsh midday sunlight.
How to Turn This Into a Full Day From Banff
Our Yoho itinerary can easily become an even bigger Canadian Rockies adventure if you’re willing to start early and make a few strategic stops.
Rather than driving directly from Banff to Yoho, consider using the Icefields Parkway for part of your route.
Morning: Start in Banff
Leave Banff early. Head toward Lake Louise and continue north on the Icefields Parkway.
Stop 1: Herbert Lake
This is an easy, quick stop near Lake Louise.
It’s especially beautiful in the morning when the water can be calm enough to reflect the surrounding mountains.
Time: 10–20 minutes
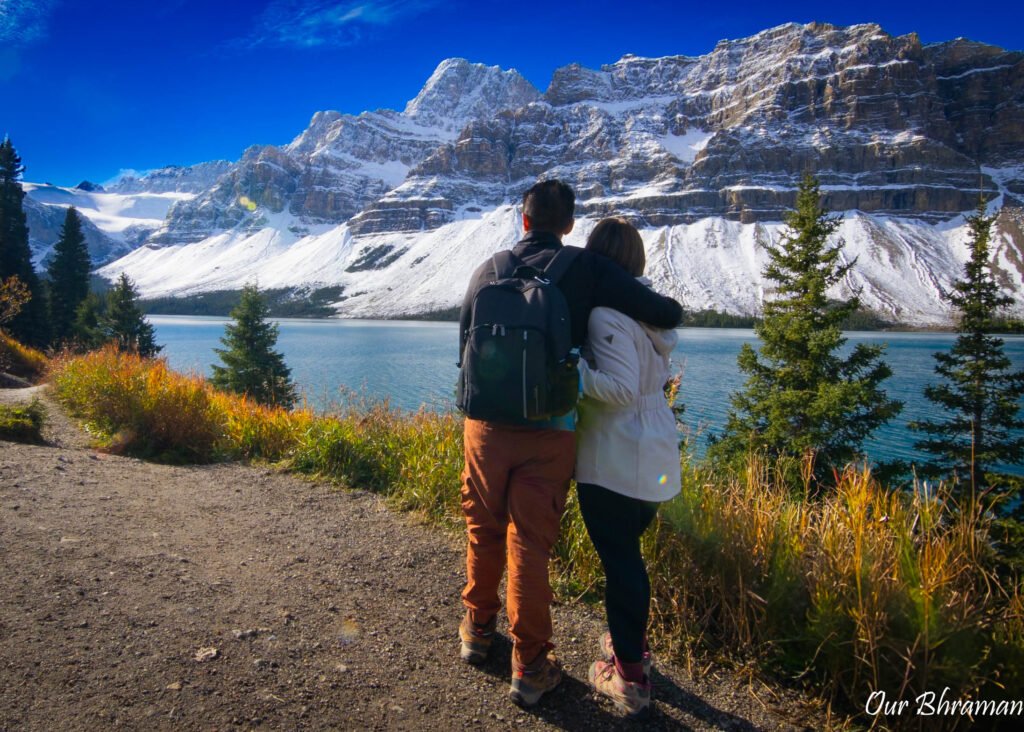
Stop 2: Bow Lake
Continue north to Bow Lake, one of the most scenic roadside stops along the Icefields Parkway.
The lake sits beneath dramatic mountain peaks and is an excellent photography stop.
Time: 20–30 minutes
Stop 3: Peyto Lake
Next, head to Peyto Lake.
The short hike to the viewpoint leads to one of the most iconic scenes in the Canadian Rockies.
The overlook provides a spectacular view of the glacier-fed lake and surrounding mountains.
Time: 45–60 minutes
Then turn around and head south toward Lake Louise before crossing into Yoho National Park.
Stop 4: Spiral Tunnels
Make your way to the Lower and Upper Spiral Tunnel viewpoints.
Time: 15–30 minutes
If you see a train nearby, wait.
You might just get lucky like we did.
Stop 5: Takakkaw Falls
Continue to Takakkaw Falls.
Grab lunch, hike to the waterfall, photograph the falls, and explore the surrounding area.
Time: 1.5–2 hours
Stop 6: Natural Bridge
Make the quick detour toward Emerald Lake.
Stop at Natural Bridge along the way.
Time: 20–30 minutes
Stop 7: Emerald Lake
Finish the Yoho portion of your day at Emerald Lake.
Walk part of the shoreline or complete the entire loop if you have enough daylight.
Time: 1–2+ hours
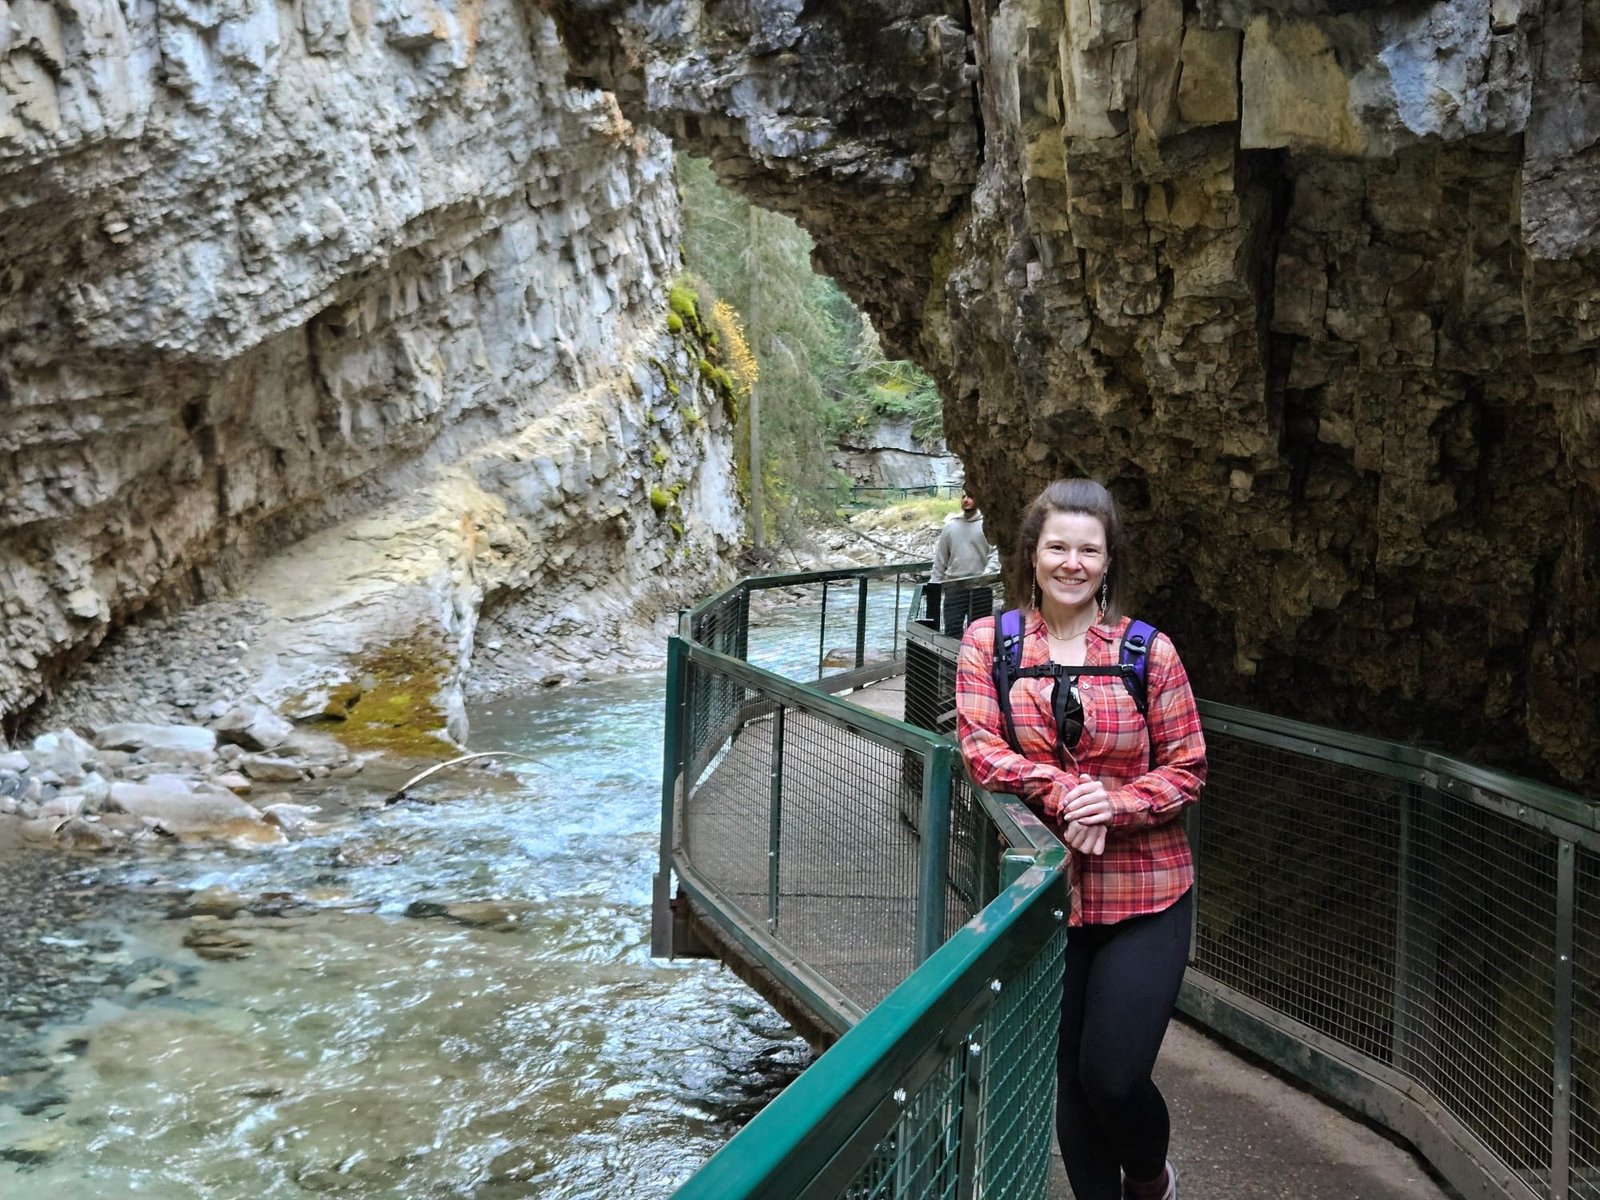
Stop 8: Johnston Canyon
On the way back toward Banff, consider ending the day at Johnston Canyon.
If you’re visiting during the longer days of summer, you can hike to the Lower Falls—or continue farther toward the Upper Falls.
If you’re visiting in fall like we did, keep an eye on the time.
Mountain daylight disappears quickly.
Time: 1–2 hours
Then make your way back to Banff for the night.
Travel Tip
Start Early
This itinerary covers a lot of ground. Starting early gives you more flexibility and helps avoid the worst parking and crowds at popular destinations.
Fill Up Before You Go
Fuel and services are limited along parts of the Icefields Parkway. Don’t wait until you’re nearly empty.
Bring Food
We saved time by carrying food and having a picnic lunch. And honestly, eating beside Takakkaw Falls isn’t a bad lunch spot.
Bring Layers
Mountain weather can change quickly. Even if it’s warm when you leave Banff, temperatures can be significantly cooler at higher elevations.
Watch the Sunset
If you’re visiting during fall, remember that daylight disappears surprisingly quickly. We learned this lesson more than once during our Canadian Rockies trip.
Check Seasonal Closures
Some mountain roads and attractions operate seasonally. The road to Takakkaw Falls, for example, typically closes in the fall because of winter conditions. Always check current Parks Canada conditions before your trip.
Icefields Highway
Check out Bow, Peyto and Herbert Lakes to add on to your epic Yoho Adventure
Banff National Park
Check out Johnston Canyon to add on to your epic Yoho Adventure